
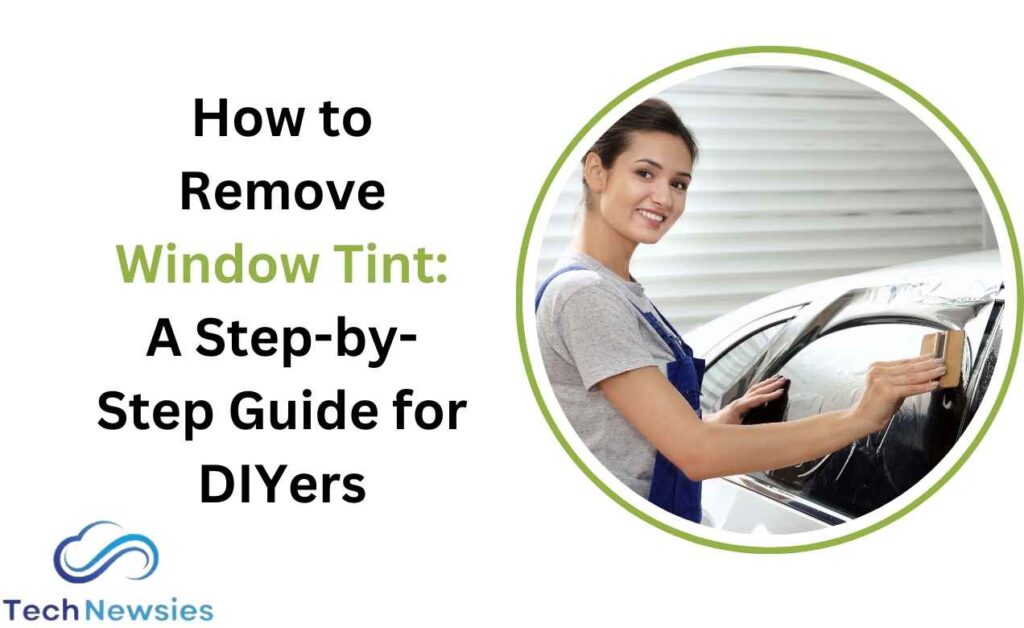
Removing window tint may seem like a daunting task, but with the right tools and techniques, it can be done effectively at home. Whether your tint is bubbling, faded, or you simply want a different look, DIY window tint removal is possible. In this guide, I’ll walk you through the different methods of removing window tint, what tools you’ll need, and how to avoid damaging your windows in the process.
- What is Window Tinting?
- Why Would You Want to Remove Window Tint?
- DIY vs. Professional Removal
- Understanding Different Types of Window Tint
- Tools and Materials Needed
- Preparation Before Removing Window Tint
- Method 1: The Steamer Method
- Method 2: The Soap and Scrape Method
- Method 3: The Ammonia and Sun Method
- Method 4: The Hairdryer Method
- How to Remove Sticky Residue After Tint Removal
- What to Do After Removing the Tint
- Common Mistakes to Avoid
- When to Consider Professional Tint Removal
- Safety Considerations
- Benefits of Removing Old or Damaged Window Tint
- Conclusion
- FAQs
What is Window Tinting?
Window tinting involves applying a thin, colored film to the inside of a car or house window. This film reduces the amount of sunlight that passes through, which helps keep the interior cooler, reduces glare, and offers privacy. However, over time, tint can deteriorate, bubble, or discolor, and that’s when it becomes necessary to remove it.
Why Would You Want to Remove Window Tint?
There are several reasons for removing window tint. You might need to replace it due to age or damage. Sometimes people choose to remove tint for legal reasons, as some regions have strict regulations regarding the darkness of window tint. Others may want a clearer view or to change the aesthetic of their vehicle or home.
DIY vs. Professional Removal
While professional tint removal services exist, many people opt for a DIY approach to save money. Fortunately, with patience and attention to detail, most people can successfully remove window tint on their own. However, if the tint is stubborn or you’re unsure about the process, hiring a professional might be worth the cost.
Understanding Different Types of Window Tint
Before starting the removal process, it’s helpful to understand the type of tint you’re dealing with. Different types of window tint may require slightly different methods for removal.
Dyed Tint
This is the most basic form of tint, consisting of a layer of dye that blocks sunlight. It’s easier to remove compared to other types of tint.
Metallized Tint
This type of tint has metallic particles embedded in it. It’s more durable but slightly harder to remove due to its construction.
Ceramic Tint
Ceramic tint is the most advanced and long-lasting, offering superior heat and UV protection. However, it can be more challenging to remove without leaving residue.
Tools and Materials Needed
Before starting, gather the following tools and materials:
- Razor blades or utility knives (new, sharp blades)
- Steamer or heat gun (or hairdryer)
- Ammonia-based cleaner or soapy water
- Spray bottle
- Plastic wrap
- Scraper or plastic card
- Microfiber cloth
- Adhesive remover (optional)
- Gloves and safety glasses (for protection)
Preparation Before Removing Window Tint
Inspect the Condition of the Tint
Before jumping into the removal process, check the state of the tint. If it’s bubbling or peeling, it may come off easier than intact tint. However, if the tint is still fully adhered, you might need to use heat or chemicals to loosen it.
Work in a Well-Ventilated Area
If you’re using ammonia-based products or other chemicals, ensure you’re working in an open, well-ventilated space. This will prevent inhalation of fumes, which can be harmful.
Protect the Surrounding Surfaces
Cover any surfaces surrounding the window, especially in a car, to avoid accidental damage from scraping or chemicals. Use towels or protective sheeting to cover door panels and dashboards.
Method 1: The Steamer Method
Step-by-Step Instructions
- Plug in the steamer and let it heat up.
- Hold the steamer close to the window to soften the adhesive behind the tint.
- Start at a corner of the window and gently lift the tint with a razor blade.
- Slowly peel the tint while continuing to apply steam to the area where the film is attached.
- After removing the tint, use a cloth to wipe off any residue.
Pros and Cons of the Steamer Method
- Pros: Less risk of damaging the window; ideal for large surfaces.
- Cons: Requires a steamer, and it can be slow if the tint is stubborn.
Method 2: The Soap and Scrape Method
Step-by-Step Instructions
- Spray soapy water generously over the tint.
- Let the water soak in for a few minutes.
- Use a razor blade to carefully lift a corner of the tint.
- Slowly peel off the tint, using the razor blade to help along the way.
- After peeling, scrape off any adhesive residue left on the window.
Important Safety Tips
- Always use a new, sharp blade to avoid scratching the window.
- Be cautious when scraping near window edges or defroster lines.
Method 3: The Ammonia and Sun Method
Step-by-Step Instructions
- Spray the window with ammonia-based cleaner.
- Cover the wet window with plastic wrap to trap the fumes.
- Let the ammonia sit in the sun for about an hour to soften the adhesive.
- Peel away the plastic wrap and start removing the tint with a razor blade.
- Wipe away any residue with ammonia and a cloth.
Best Situations for Using This Method
This method works well in hot, sunny climates, where the sun can help speed up the process.
Method 4: The Hairdryer Method
Step-by-Step Instructions
- Turn on the hairdryer and hold it close to the tint, heating it up.
- Use a razor blade to lift a corner of the tint.
- Slowly peel the tint while heating it with the hairdryer to keep the adhesive soft.
- Use adhesive remover to clean off any leftover glue.
Pros and Cons of This Method
- Pros: No need for harsh chemicals; accessible for most people.
- Cons: May take longer for larger windows, especially if the hairdryer isn’t powerful enough.
How to Remove Sticky Residue After Tint Removal
Once the tint is off, you’ll often be left with sticky residue. Here’s how to get rid of it:
- Use an adhesive remover or rubbing alcohol to loosen the glue.
- Scrape gently with a plastic card or razor blade.
- Wipe clean with a microfiber cloth to prevent streaks.
What to Do After Removing the Tint
After successfully removing the tint and any residue, clean the window thoroughly with a glass cleaner. Inspect the window for any scratches or imperfections that might need attention.
Common Mistakes to Avoid
- Using Dull Blades: Always use sharp blades to avoid scratches.
- Overheating the Window: Be careful not to crack the window by applying too much heat.
- Rushing the Process: Take your time to avoid damaging the window.
When to Consider Professional Tint Removal
If the tint is particularly old or stubborn, or you’re worried about damaging the window, professional tint removal might be worth the investment. Professionals have specialized tools and experience to remove tint quickly and safely.
Safety Considerations
- Ensure good ventilation, especially when using chemicals like ammonia.
- Wear gloves and safety glasses to protect your hands and eyes.
- Dispose of the tint and any waste materials properly.
Benefits of Removing Old or Damaged Window Tint
- Improved Visibility: Faded or bubbled tint can distort your view, making driving safer after removal.
- Better Aesthetics: Removing damaged tint gives your car or home windows a clean, refreshed look.
- Legal Compliance: Ensuring your tint meets legal requirements in your area can help you avoid fines.
Conclusion
Removing window tint can be a time-consuming process, but it’s a manageable DIY project if you have the right tools and follow the right methods. Whether you choose to steam, scrape, or use a heat gun, the key is patience and attention to detail. Afterward, you’ll enjoy clearer windows and potentially a whole new look for your car or home.
FAQs
- How long does it take to remove window tint?
- Depending on the method and the size of the window, it can take anywhere from 30 minutes to a few hours.
- Can I remove window tint without using chemicals?
- Yes, methods like using a steamer or hairdryer avoid the use of chemicals.
- Will removing window tint damage my windows?
- If done carefully with the right tools, you should be able to remove the tint without causing damage.
- How do I know if I need to replace my window tint?
- If your tint is peeling, bubbling, or has turned purple, it’s likely time to remove or replace it.
- What is the cost difference between DIY and professional tint removal?
- DIY removal typically costs under $50 for supplies, while professional services range from $100 to $200 or more depending on the size and number of windows.

